Good Nutrition
Teach Kids About Nutrition and Labels
This approachable introduction to understanding the Nutrition Facts Label will challenge grades 4-5 students to explore the foods they typically choose and consider healthier options, if necessary.

Download the Cafeteria Smarts Lesson Plan
Goals and Skills
CHILDREN WILL:
- Analyze, compare and interpret information found on the Nutrition Facts Label
- Identify and choose healthy snack options
SUPPLIES AND PREPARATION
- Assorted labels from packaged foods and beverages (ideally, snacks from similar categories for comparison).
For example: whole and fat-free milk or dairy products; whole grain crackers and non-whole grain snack crackers; fruit in juice and fruit in syrup; water and soda; baked and fried chips. Choose some with multiple servings per container.
- Make copies of the student handout Nutrition Facts Label (see Page 5 of the PDF)
- Poster board and art supplies.
Instruction Steps
1. EXPLORATORY QUESTIONS.
Start a class discussion by asking students:
- What kind of snacks do you eat?
- Who chooses snacks/foods in the cafeteria and after school?
- What is a healthy or “nutritious” snack
- How do you know?
- Has anyone heard of the Nutrition Facts Label?
2. DISCOVERING THE NUTRITION FACTS LABEL.
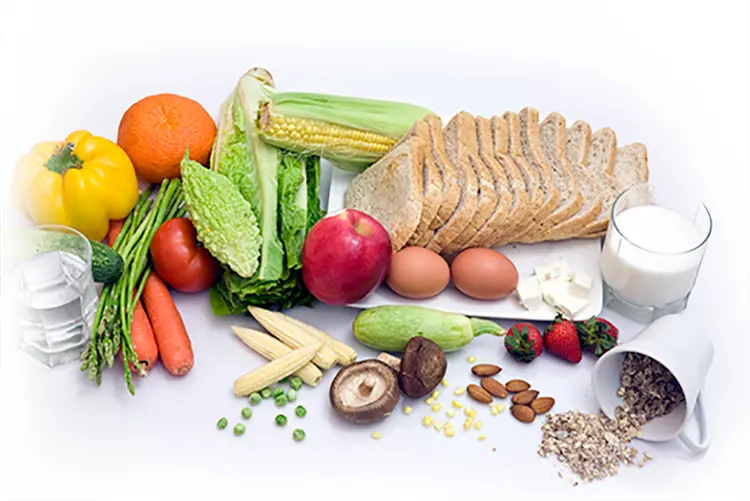
Invite students to bring a favorite snack or beverage to school the next day*. Some snacks may be unpackaged (like fruit or vegetables). Have students separate and group similar snacks together (along with the ones you’ve supplied): fresh fruit or vegetables, crackers, chips, beverages, dairy, etc. (*Remember: if you have students with food allergies, e.g., peanuts, remind students to avoid bringing those foods to class.)
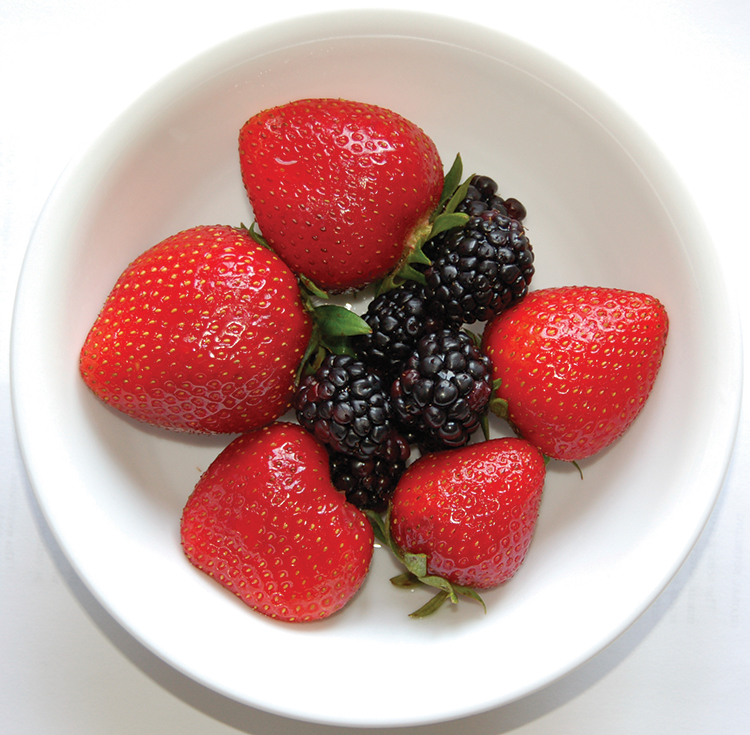
Explain that fruits and vegetables are packed with nutrients that we can’t see, but for the foods that are packaged, we can evaluate the nutritional information by looking at the Nutrition Facts Label. Ask students if they can find the Nutrition Facts Label on the foods in packages.
Tell students that when choosing their own snacks, they have the power to select those that are “nutrient-rich” and give them the “fuel” or energy they need to last throughout the day and to do their favorite activities.
Distribute a copy of the blank Nutrition Facts Label handout to each student. Have them select a snack or beverage item they brought in or eat often, then fill out the handout with the label information. Next, have them answer the math problems and questions at the bottom of the page. Then discuss and share their observations.
3. EVALUATING AND INTERPRETING.
Have students work together to study the labels of various food and beverage containers that were brought in, to identify choices that are lowest in saturated fat and sodium (ideally, 5% DV or lower) and lowest amount of sugars (shown in grams)
Next, have them look for options that are higher in Dietary Fiber (ideally, 20% DV or more) and have beneficial vitamins/minerals like Vitamin C, Calcium or Iron.
To help them evaluate the nutrition of each item, have students rank the daily values of each label in a chart or graph.
4. SNACK POWER-PACK LIST!
Once students have compared and chosen snacks that are lower in saturated fat, sodium and sugars, have them work in pairs or small groups to create a “Snack Power-Pack List”: a list of go-to snacks that pack the greatest nutrient offerings.
If your school has vending machines, have students evaluate the choices offered to determine which are the healthiest choices. Provide students with poster board and art supplies to create their Snack Power-Pack Lists. Have students share their lists with the rest of the class.
Display the finished lists in the cafeteria, around the school, or near the vending machines as visual reminders of nutritious snacks. This will help others at school make healthy choices too. Remind students that they have the power, and now they have the tools, to make healthy choices every day by using the Nutrition Facts Label.
5. EXTEND THE LESSON.
Have students examine labels on packaged foods in the vending machines and cafeteria. Ask: Which foods would be the best snack choices, and why? How can you help other students make better choices too?
6. HOME CONNECTION.
Using the Snack Power-Pack List, have students create take-home versions to serve as shopping lists to share with their families. Encourage students to be involved in helping select different foods for the household by going to the grocery store with their parents and/or caregivers.

DISCLAIMER:
Healthy Habits® is Presented by Lysol® in collaboration with NEA and National PTA
SOURCES:
Education Standards: (NHES) Health: 2.2.1, 6.2.1; (CCSS) English Language Arts: W.K-1.2, SL.K-1.1, SL.K-1.5, L.K-1.5; (CCSS) Mathematics: 1.MD.C.4; (NAEA) Visual Arts: VA.K-4.1
https://www.cdc.gov/healthyschools/parentsforhealthyschools/p4hs.htm
https://www.cdc.gov/healthyschools/bam/teachers.htm
https://www.cdc.gov/diabetes/ndwp/eagle-books/early-readers.html
https://www.fda.gov/food/food-labeling-nutrition/nutrition-education-resources-materials